Moving and Rotating a Prim
Congratulations! You can make building blocks! However, just as with regular building blocks, you need to learn how to move them around to create complex objects.
Instruction
OpenSimulator offers two primary ways to move and rotate objects. You can drag an object around and just “eyeball” it where you want it to go. Or, you can use numbers to place it exactly where you want it to go. Although you may find you prefer one way more than the other, a good builder knows them both.
Practice
Step 1: Dragging a prim
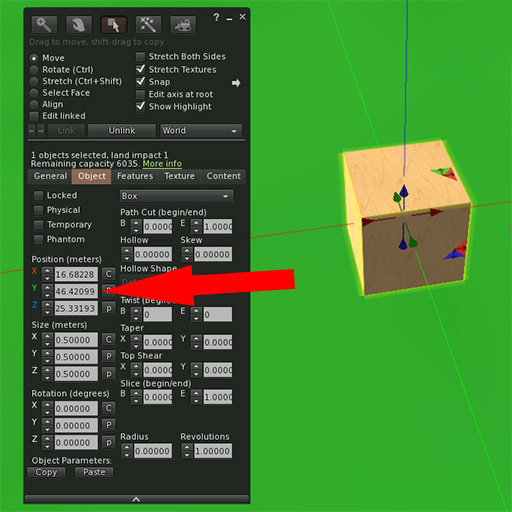
Rez a cube near you. You will see red, green and blue directional arrows showing the x, y and z axes.
- Red: x axis
- Green: y axis
- Blue: z axis
If you place your pointer over the head or tail of an arrow, you will see it glow more brightly.

Click and hold to drag your cube along that axis. You might have to try a few times to get it right, so be patient and point with precision. Hint: you can move your camera angle if necessary to get a better shot.
Practice dragging your prim using each of the directional arrows. Also try dragging using a two-colored arrow if one is visible; this will allow you to move a prim diagonally.
Step 2: Using numbers to position a prim
A prim’s position can be described mathematically, using a number for each axis. The number represents exactly where a prim is located on a section of land, called a sim, which stands for simulator, also sometimes called a “region” or an “island” in OpenSimulator.
To see the position of a prim Right-click on an existing prim, choose Edit and select the Object tab in the Edit window. (May appear as the Options tab depending upon your viewer.)


When you want to line objects up exactly, building by the numbers is very helpful. You can see these numbers using the Edit window. To do this, either create a new prim, or Right-click (Cmd-click) on an existing prim you’ve created and choose Edit. Select the Object tab to view the mathematical position of your prim. Edit Window > Object Tab > Position To change an object’s position, you can type in a number or use the up/down arrows to the left of each number.
Use the up/down arrows to the left of each number to slightly adjust the position of your object. Notice how far an object moves using only small adjustments. Depending on the axis you choose, your prim will move the following way:
- X (Red): East or West
- Y (Green): North or South
- Z (Blue): Up or Down
Tip: If you type in a new number, make only small changes at first. If you drastically change an object’s position, you may not be able to find it easily!
Step 3: Rotating a prim
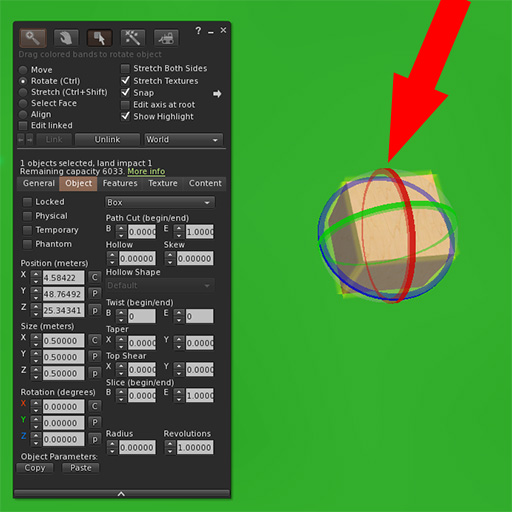
To rotate a prim, make sure you have it in Edit mode. If you can’t see the directional arrows, Right-click (Cmd-click) on it and choose Edit from the menu. Then hold down the CTRL key and you will see the arrows change to colored circles. Dragging on each of these circles allows you to rotate a prim. You may also select the Rotate button from the Edit window to show the colored circles.
From the edit mode, hold down the CTRL key and click and drag the circles around your prim and rotate it to your liking.


Step 4: Using numbers to rotate a prim
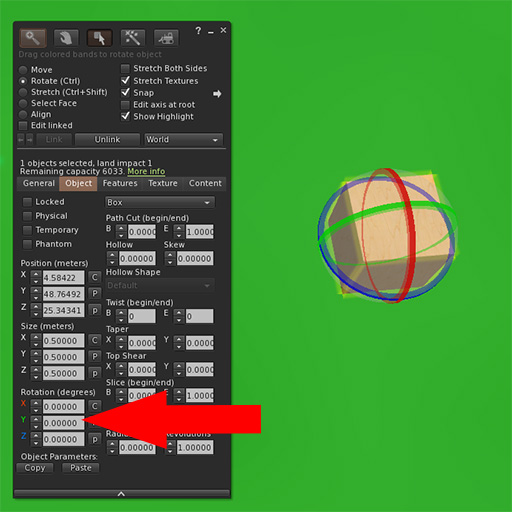
A prim’s rotation can also be described mathematically. If you remember common angle degrees from geometry, you will see how they look in OpenSimulator! Select the Object Tab to view the rotation degrees of your prim. Edit Window > Object Tab > Rotation To change an object’s rotation, type in a value between 0 and 360 degrees. You can also use the up/down arrows to the left of each number to change the rotation one degree at a time.
Change the numbers of each rotation axis and notice what happens to your prim.


Take some time to move and rotate all the prim shapes. Just using the shapes you know, can you make an ice cream cone? What else can you make?
If you are using the PRIMLAND Tutorial game, stop here and continue on the path!
